Polarity refers to the positive and negative terminals of the panel, and reversing them can lead to performance issues, equipment damage, or even safety hazards. Understanding solar panel polarity is important because it will you to ensure a proper installation. Incorrect wiring can lead to wasted energy and additional costs, undermining the benefits of solar power. Proper grounding enhances safety by preventing electric shocks. . Figuring out the polarity of solar panels is critical for safe and efficient system performance. What is a PN junction, what happens inside it, and how does it help a solar cell convert sunlight into usable electricity? What Exactly Is a PN Junction? (With Doping Explained Clearly) Let's begin. This article covers grounding. .
[PDF Version]
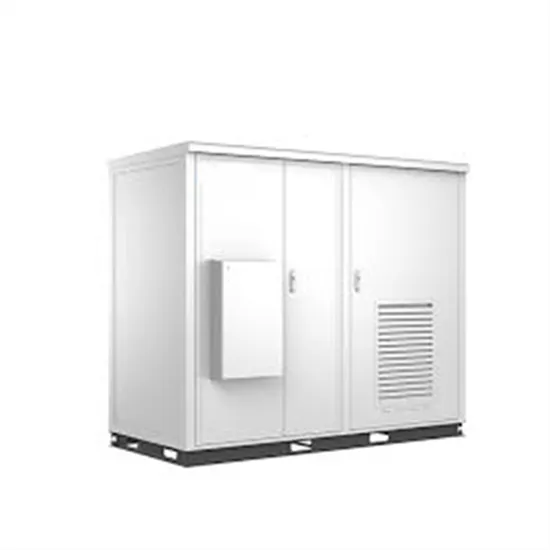
This article provides a clear framework for designing compliant earthing systems, highlighting the key differences and practical application steps for each standard to ensure your installations are safe and reliable, no matter the location. It is a mandatory practice required by NEC and IEC codes to protect both equipment and personnel from damage and electric shock hazards. This article covers grounding. . This process involves two distinct but related concepts: system grounding, which provides a reference to earth for the electrical system (stabilizing voltages and assisting in clearing certain faults), and equipment grounding, which bonds all normally non-current-carrying metallic parts to provide. . Grounding solar panels is an essential step in the installation process to ensure safety and prevent electrical hazards. === Hello Solar Energy Enthusiast! My goal is to make sure you will enjoy this course! Since you are reading this, it means you are looking for a reliable source of information related to grid-tied solar. . Learning how to wire solar panels requires learning key concepts, choosing the right inverter, planning the configuration for the system, learning how to do the wiring, and more. In this article we will teach you all of these, saving you weeks if not months of hard studying on the subject.
[PDF Version]
Connect positive to negative: Begin by linking positive terminal on first panel with negative terminal on second panel using PV wire (you can use your hands). Repeat this step until all panels are connected together in series. Methods include examining the diode and using a voltmeter to measure voltage. It also discusses checking solar panel polarity and fixing reverse. . Understanding photovoltaic (PV) technology is essential for the efficient utilization of solar energy. This manual contains important safety information for photovoltaic solar modules (hereinafter. . So, you want to build a DIY solar panel? The answer is yes—but don't grab your soldering iron and solar cells just yet.
[PDF Version]
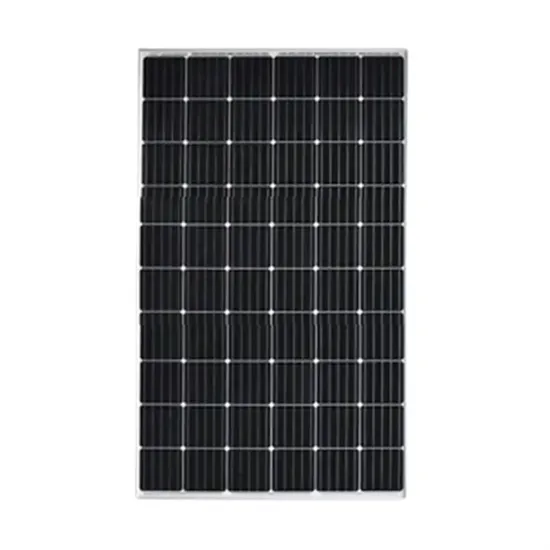
The most commonly observed method is to look for labeling on the junction box of the panel. Manufacturers often label the positive terminal with a “+” sign and the negative terminal with a “-“. Sometimes, these terminals also have corresponding color-coded wires for easy. . Figuring out the polarity of solar panels is critical for safe and efficient system performance. Incorrect wiring can lead to wasted energy and additional costs, undermining the benefits of solar power. In this. . To definitively identify the polarity of a standard 350W to 550W solar panel, first examine the IP68 junction box located on the rear back sheet, where manufacturers permanently mold raised + and - symbols directly into the plastic casing near the 4mm² cable exit points. But fear not – today we'll turn you into a solar Sherlock, complete with multimeter magnifying glass and MC4 connector clue Ever tried assembling a DIY solar array only to realize your. .
[PDF Version]

Generally, the leading wire of the left box corresponds to the negative pole, and the right side corresponds to the positive pole, but this depends on whether the module is placed vertically or horizontally, so you must look for the laser-engraved marking next to the cable gland. . Generally, the leading wire of the left box corresponds to the negative pole, and the right side corresponds to the positive pole, but this depends on whether the module is placed vertically or horizontally, so you must look for the laser-engraved marking next to the cable gland. . For newer panels, red sheathing typically indicates positive wires, while black or gray denotes negative. But don't trust colors blindly – I've seen off-brand panels use reversed color coding. Grab a digital multimeter set to DC voltage (20-40V range works for most residential. . Correctly identifying the positive and negative terminals of a solar panel is a big factor especially for ensuring a safe, efficient, and properly functioning solar power system. Methods include examining the diode and using a voltmeter to measure voltage. Ensure safety by disconnecting power; this is critical to avoid electric shock and equipment damage. But fear not – today we'll turn you into a solar Sherlock, complete with multimeter magnifying glass and MC4 connector clue Ever tried assembling a DIY solar array only to realize your. .
[PDF Version]
While the exact percentage varies based on your geographic location, improperly angled panels can lose anywhere from 10% to 25% of their potential energy output over a year. This is a substantial loss that directly impacts your energy savings and the payback period of your system. That is why many solar angles are used in PV power calculations, and solar tracking systems improve the efficiency of PV panels by following the sun through the sky. In this guide, we'll break down. . However, since it is a single pitch roof and lay them flat, that will be at a -7 degree angle from the sun. As experts in residential solar. . Latitude-Based Angle Calculation Provides Optimal Results: Setting your solar panel tilt angle equal to your location's latitude delivers the best year-round performance, with seasonal adjustments of ±15° offering potential 5-10% production improvements for adjustable systems.
[PDF Version]