Summary: Zero current in photovoltaic (PV) inverter branches can reduce energy output and damage system components. This article explores practical strategies to identify, troubleshoot, and resolve this issue while aligning with industry best practices. The best way to avoid system failures is to install a high-quality, properly designed PV system. Discover data-backed solutions, case studies. . Without a solar inverter, the energy generated by your solar panels would remain unusable for everyday electrical appliances. They monitor system performance, detect faults, and. . At Energy Solutions and Services (ESAS) we take pride in being a trusted wholesale distributor of premium solar inverter brands across the USA. While we provide top-quality inverters from industry leaders like Solis, Enphase, Victron, and SolarEdge, we understand how essential a well-functioning. . Monitor your solar inverter's error codes and display indicators daily – these warning signs often reveal developing issues before complete system failure occurs.
[PDF Version]
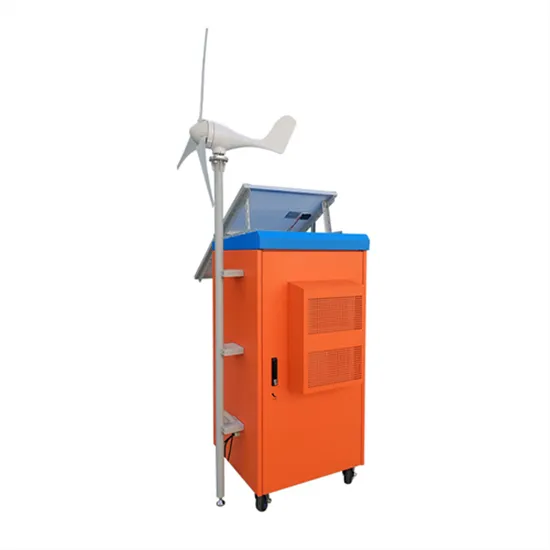
Each single component of the PV system has an insulation resistance to ground. Usually this leads to very small and harmless fault currents. In the event of a fault this ensures very small and. . Properly grounding solar PV systems is one of the most critical aspects of a safe and reliable installation, governed by Part V of NEC Article 690. All PV equipment must be grounded per NEC 250. Modern solar. . Grounding solar panels means bonding them to “earth ground” — typically with a copper rod in the dirt. But there's much more to this story. It's not just a box to tick off during installation – it's a vital step that protects your investment and ensures your system operates efficiently.
[PDF Version]
Using the same three 6 volt, 3. 0 amp panels from above, we can see that when these pv panels are connected together in series, the array will produce an output voltage of 18 Volts (6 + 6 + 6) at 3. 0 Amperes, giving 54 Watts (volts x amps) at full sun. . For identical solar panels wired in series, the voltages are summed and the current stays the same. When wired in series, the 3 connected panels (often called a series "string") will. . Definition: This calculator determines the total voltage, current, and power output of solar panels connected in series and parallel configurations. Enter the details, and we'll calculate the total power output, voltage, and current they could produce when wired: in combination, with each panel spec wired in parallel, then all parallel. . Enter your solar panel's voltage (Vmp), current (Imp), and the number of panels you're wiring together. Use this to match your inverter and battery requirements.
[PDF Version]
step 1 scan barcode and copy step 2 open the official j a solar website step 3 enter the barcode step 4 inter verification code and then submit after 1 second result show that you are solar panel is original and A grade . . Faceook page https://www. Enjoy the videos and music you love, upload original content, and share it all with friends, family, and the world on YouTube. I asked installer to send me a picture of the label behind one of the panels, have attached screenshots for these. . is and complies with the essential requirements. The certificatio mark shown above can be affixed on the product. Solar panels are graded into categories A, B, C, and D based on their quality, and the cost differences between these grades can be. . This is where JA Solar authentication comes into play — a process designed to help buyers confirm the authenticity of their panels.
[PDF Version]
In this article, you will explore everything about wiring solar panels, from understanding the basic components to connection types and the tools required, to a step-by-step wiring guide and final testing. Let's get into further details. What to Consider Before Wiring Your Solar. . Grid-tied systems dominate 2025 residential solar: With 90% of installations being grid-tied, these systems offer the best ROI at $2. In the same order you can connect two more panels according to the selection of the purchase.
[PDF Version]
To install 10w solar panels, start by selecting an appropriate location, gathering necessary tools, preparing the mounting surface, and connecting the wiring. Screw the bracket onto the solar panel using the 1/2” self-tapping tek screws, which are included with the bracket. If you need additional wire, use. . Full step by step solar system install for beginners. This DIY guide covers how to mount rigid rooftop solar panels. Understanding the process is key for planning its installation on your roof.
[PDF Version]