You can run most fans with a 150 watt inverter. Fans are energy efficient ways of cooling a room. Whether it's a pedestal fan, box fan, ceiling fan, or portable fan, you won't need too much power. This. . DC fans may be connected directly to a solar power system, but an inverter is required. A 250 watt solar panel can power a 52 inch blade ceiling fan and a 42 inch TV for 5 to 6 hours a day, assuming each consumes 90 to 100 watts an hour. However, a 50ah battery is still needed. Inductive loads may use up to 40% more than their rated power. Check out this comprehensive article for more information about the different load types, We created a formula below which helps you know. . Yes, you can run a fan directly from the solar panel, but if you intend to use an AC-powered fan, you must incorporate a solar inverter. The inverter converts DC to AC power, ensuring safe fan operation when connected. . So a simple rule will be to minimize 15% of your inverter's full capacity in order to get the maximum number of watts you can run with your inverter For example: Let's take a 1000W inverter with an 85% efficiency rate. 1000-15% = 850 watts You can run a total of 850 watts of load on your 1000W. . An inverter is an electrical device that converts DC (direct current) power from a battery or other DC source into AC (alternating current) power, which is the type of power used by most household appliances.
[PDF Version]
Learn how to safely connect solar panels to the electrical grid with our comprehensive guide covering permits, installation steps, safety requirements, and code compliance. . This is the precise scenario where specifying solar panels on poles becomes a critical, value-driven alternative. There are mainly three different wiring configurations, which are series, parallel, and hybrid connections. This solar panel wiring guide explains different methods. . The purpose of this article is to give you a basic understanding of the concepts and rules for connecting a solar panel system to the utility grid and the household electrical box or meter. In this guide, we"ll explain a typical solar panel installation from start to finish, as well as what all the. .
[PDF Version]
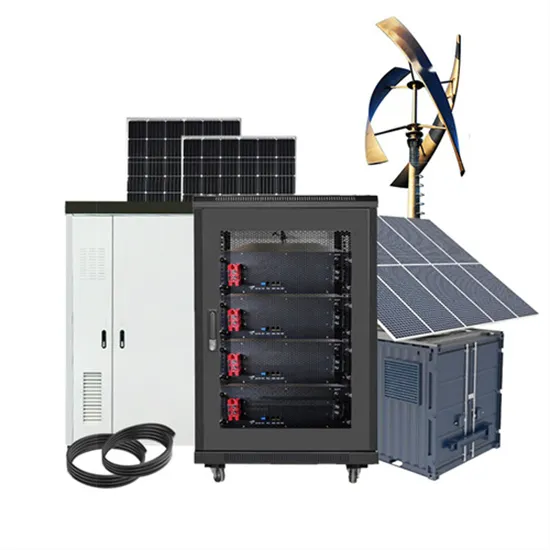
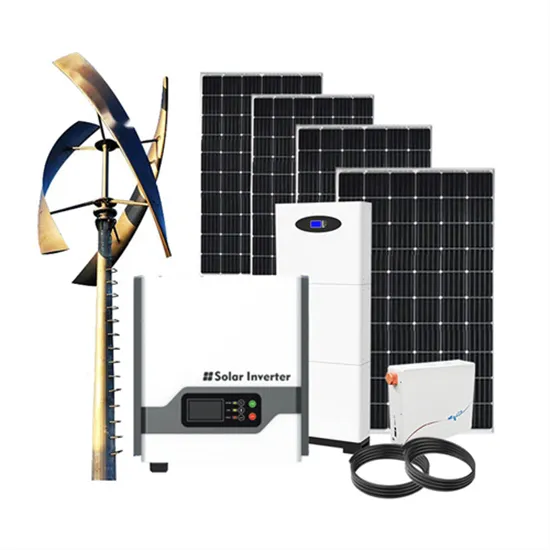
To have a functional solar PV system, you need to wire the panels together to create an electrical circuit through which current will flow, and you also need to wire the panels to the inverter that will convert the DC power produced by the panels to AC power that can be used. . To have a functional solar PV system, you need to wire the panels together to create an electrical circuit through which current will flow, and you also need to wire the panels to the inverter that will convert the DC power produced by the panels to AC power that can be used. . Solar panels capture sunlight and use the photovoltaic effect to convert it into electrical power. Inverter: The electricity solar panels produce is in the form of Direct Current (DC). A solar inverter converts the DC power into AC energy to run all appliances in your home or office. Battery Bank:. . There are three wiring types for PV modules: series, parallel, and series-parallel. Knowing their jobs helps you connect them properly. Series boosts voltage, and parallel boosts current for better performance.
[PDF Version]
Attach beams to the columns and ensure they are level. Position panels according to design specifications. Verify that panels are securely installed with. . How to fix the beam on the photovoltaic of t e structure of the building ( o attach the fixing bracket to the solar panel. This guide explores practical methods, material choices, and industry best practices to help installers and DIY enthusiasts create durable mounting systems. . Did you know that 23% of solar panel failures in 2024 stemmed from improper bracket-to-beam connections? As solar installations surge globally, understanding photovoltaic bracket and inclined beam connection diagrams becomes non-negotiable for engineers and installers alike. Common installation. . To ensure the smooth installation of photovoltaic system brackets and meet design requirements, Guidance Method For The Installation Of PV System Brackets are provided, including ground-mounted, rooftop, adjustable tilt angle, floating, Building-Integrated Photovoltaics (BIPV), bifacial, and. . PV End clamp are usually used for the edge part of photovoltaic modules. Secure and easy inst llation for efficient solar power portance of Proper Installation of I. .
[PDF Version]
If a solar panel lacks a frame, 1. evaluate mounting options, 4. The absence of a frame may compromise the panel's durability and efficiency. . modules (hereafter referred to as "module”). All instructions should be read carefully before installation. Please contact our sales department for more information if you have any question. The installing. . How to fix frameless module clamps to aluminum rails ? How to fix frameless module. Instruction for frameless glass solar panel mid / end clamps mounting Nowadays frameless glass laminate PV modules are more and more popular because of good appearance & high efficiency. If you are new to the DADvinci channel and community, Welcome! Whilst you're here, why n.
[PDF Version]

This guide is your comprehensive roadmap to understanding solar panel repair. We'll explore common issues, the tools you'll need, safety precautions, and step-by-step solutions. You'll also learn when to seek professional help to safeguard your system's efficiency and value. . Full walkthrough of how we repaired a 100W solar panel with a broken junction box. This can be done by a qualified solar technician. This will usually involve soldering or. . Older panels had serviceable junction boxes and diodes, but unfortunately modern split-cell panels have fully sealed junction boxes which makes it extremely difficult to replace a blown diode. I recently came across a system that had 3 panels with blown diodes due to a reverse current after the. . How does solar panel reinstallation work? Reinstalling solar panels is a systematic process of returning the system to operational status after uninstallation. The steps typically taken are as follows: Site Evaluation: Before reinstalling the mounting surface, the surroundings are fully evaluated. . Repairing Small Cracks: For small cracks on the surface, you can use waterproof epoxy resin to seal the crack, preventing moisture from entering and worsening the damage. First i need to give a few disclaimers: 1. Soldering irons are hot and will burn you if you are not careful.
[PDF Version]